Configuring picklists for purchase request line items
Purchase request line item picklists allow you to add additional user-validated fields for each line item on the purchase request template. Users can select these fields to group purchase requests for reporting and conditional workflow routing purposes. You can define up to ten picklists.

Click image to view full size
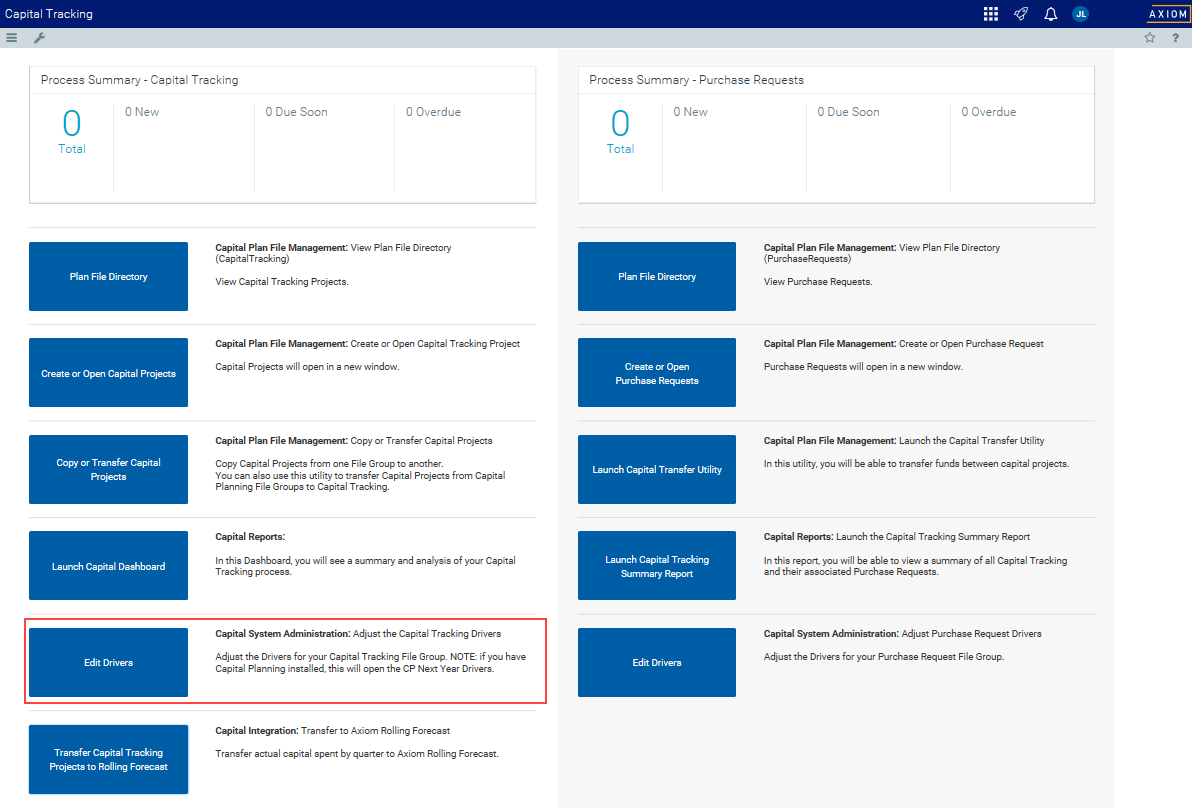
To configure picklists for purchase request headers:
-
From the Axiom Capital Tracking home page, click Edit Drivers.
NOTE: To access this location from the Cap Tracking Admin task pane, in the Administration section, double-click Purchase Request Drivers.

Click image to view full size
-
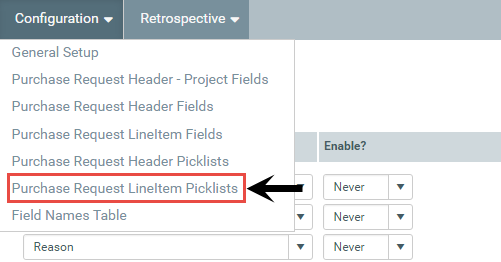
From the Configuration tab, click Purchase Request LineItem Picklists.
-
Do any of the following:
 Add a picklist
- Click + Add Table.
- In the Add Table dialog, in the Description Used field, type a name for the picklist.
- From the Enable Picklist drop-down, select one of the following:
- To display the picklist in the template, select Always.
- To hide the picklist from the template, select Never.
- Do one of the following:
- To require the user to make a selection before saving the purchase request, click the toggle to Yes.
- To allow the user to save the purchase request without making a selection, click the toggle to No.
- Click + Add a Selection.
- In the Description column, type a name for the picklist item.
- In the Help Text column, type a longer description or help text for the item.
- Repeat Steps e - f for each item to include in the list.
- After you are done adding selections, click Add.
- At the confirmation prompt, click OK.
Edit a picklist
- In the Description Used field, update the picklist name.
- From the Enable Picklist drop-down, select one of the following:
- To display the picklist in the template, select Always.
- To hide the picklist from the template, select Never.
- Do one of the following:
- To require the user to make a selection before saving the purchase request, click the toggle to Yes.
- To allow the user to save the purchase request without making a selection, click the toggle to No.
- Update the existing description and/or help text, or add a selection by clicking + Add a Selection.
Delete a picklist item
For each item to delete, next to the picklist name, click the delete check box.
- After making your changes, in the upper right corner of the page, click Save.
- At the confirmation prompt, click OK.